Ready to build your Superhero Home Gym?
This is the second of four (to start, at least) Superhero Home Gym Guides I have planned for us.
The first thing we’re going to need to do for this one is re-hash what we worked on in our first article.
In case you missed that one, you can find it here: Build Your Superhero Home Gym For Under $100.
I’ll also include some buttons for you at the end of each one of these to go “forward and back” through each recommendation list.
This article will actually be more of a “How I Would Upgrade My $100 Home Gym If I Had $250”, but I’ll explain more on that in a second.
You can also check out other recommendations on gear and supplements here, like these articles, for example:
- Top 5 Protein Powders
- Top 5 Pre-Workouts
- The Best Work From Home Setup
- Top 10 Things You Should Have In Your Gym Bag
And, obviously, even more.
Let me explain exactly how this is going to work (and I’ll reiterate within each upgrade article as well):
- I’m going to first show you exactly what I recommended within our previous Superhero Home Gym build.
- The first reason for this is because I will be building on this within this article by “upgrading” certain factors and giving additional optional equipment.
- The second reason for this is because in the first article I also make recommendations on equipment upgrades on each specific recommendation. For that reason the initial build could potentially be purchased within a very wide range.
- The third reason is built off the second. With the specific recommendations also showing “upgraded variations”, part of this build could also simply be the recommendation to choose one of these upgrade alternative options from the first.
- Following the reiteration of the previous Superhero Home Gym Build I will go into specific “Upgrade” Recommendations.
- The basis of this is explained within the first point, but I will basically be giving you specific pointers for using the additional money to either purchase upgraded equipment from the initial build OR to give some more ideas to upgrade to on your own.
- To grow on the point above, I also will have some “Core Upgrades” which indicate the basis and what I will call the most important part of the overall recommendation and upgrade.
But now let’s give a brief breakdown of our first article by quickly going through each of the recommendations (and their upgraded variations).
The Core Equipment from $100 or Less
Pull Up Bar
- Door Frame Pull Up Bar
- Price Range: $20-$100
- Wall/Ceiling Mounted Pull Up Bar
- Price Range: $50-$200
- Pull Up / Dip Station
- Price Range: $100-$300+
- Super Duper Sturdy Recommendation
Speed Rope or Jump Rope
- Speed Rope
- For Intermediate – Advanced Skippers
- Price Range: $5-$20
- Recommended Rope Price: $7-$10
- Jump Rope
- For Beginners
- Price Range $5-$20
- Recommended Rope Price: $10-$15
Kettlebell(s) or Dumbbell(s)
- Kettlebells
- Basic Kettlebells
- Price Variable
- Sandbag Kettlebells
- Price Variable
- Bowflex Adjustable Kettlebell
- Price Range: $200+
- Dumbbells
- Basic Dumbbells
- Price Variable
- Bowflex Adjustable Dumbbells
- Price Range $400+
And then we moved onto some optional recommendations.
These included things like resistance bands, yoga mats, gym mats, a foam roller, and even a weighted vest.
But I’ll let you head back to the other article if you’d prefer to see that.
Now it’s time to see exactly how I would take some of these core recommendations and specifically upgrade them for a Superhero Home Gym Under $250.
Superhero Home Gym For Under $250:
The Core Upgrades/Equipment
Our core equipment will consist of one specific upgrade and then I will follow it up by talking about my choices for the other pieces of equipment from the initial build.
From there I will also give some other alternative purchase options with the additional money, but remember that the original post also has some great alternative options as well that you should check out.
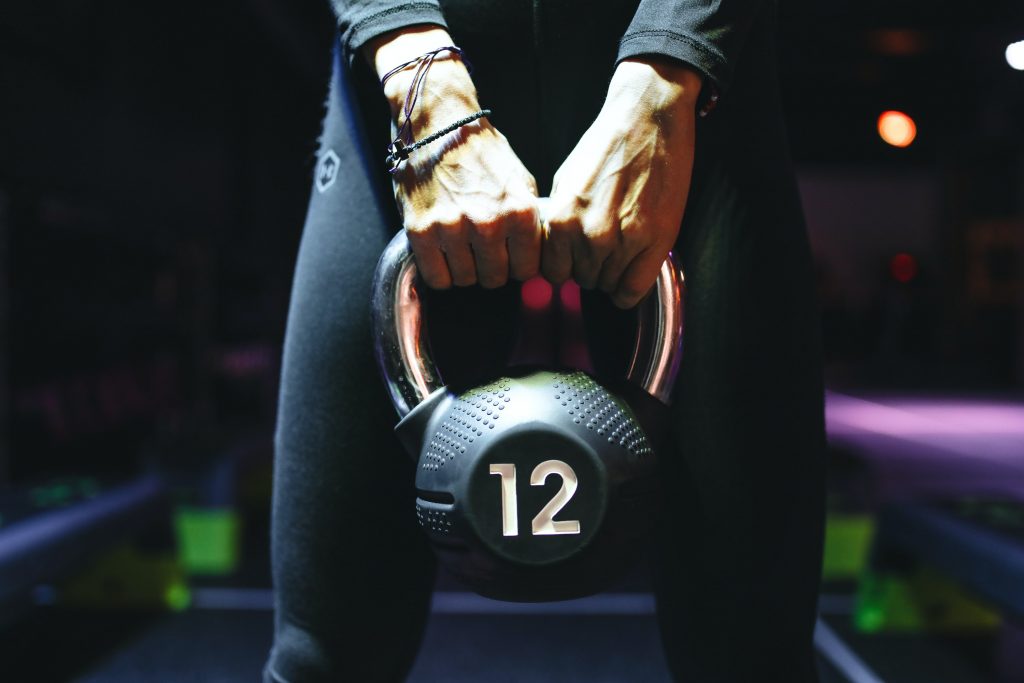
Core Upgrade: Kettlebell and Dumbbell [Upgrade]
The main upgrade for this Superhero Home Gym Build is our kettlebell and/or dumbbell(s) from the first build.
For this one we’ll rehash what we discussed about our kettlebell and/or dumbbell purchase, and then talk about how I would go about upgrading.
In our first build I recommended a variety of kettlebells and dumbbells.
For this build my recommendation is to upgrade in one of two different way (or possibly even both):
- Instead of buying just one dumbbell or kettlebell, I recommend buying a pair of either.
- Once you have a pair of either dumbbells or kettlebells it opens the door to being able to scale nearly every single workout routine on the site. Of course you can likely do that by switching up specific movements, but this will allow you to do it without having to make those swaps.
- Instead of buying just one dumbbell or kettlebell of ONE weight, I recommend buying different weights to scale movements up and down with heavier and lighter weights.
- There are so many different movements that can be done with just one kettlebell and/or dumbbell. The ability to scale those movements for progressive overload (and therefore more gains) significantly increases with varying weight options.
With these recommended upgrades I will basically be making the same recommendations when it comes to kettlebells and dumbbells, but making an extra marker within each (shown below).
- Kettlebells
- Basic Kettlebells
- Price Variable
- Bowflex Adjustable Kettlebell
- Price Range: $200+
- This essentially automatically takes care of recommendation number two.
- Dumbbells
- Basic Dumbbells
- Price Variable
- Bowflex Adjustable Dumbbells
- Price Range $400+
- This essentially automatically takes care of recommendation number two.

What We Keep From Previous Build
& What To Upgrade Further
This next section is also new for this build being that the previous version was the first. For this section I’ll be telling you exactly which pieces of equipment I would keep assuming I was going to be spending more than double the previous builds price tag.
Spoiler Alert: We’re going to be keeping both other core items and then I will mainly focus the rest of our money saved on additional alternative items.
The Pull Up Bar
Part of me wanted to utilize some of our extra cash towards adding this to the recommended upgrade portion, but in reality it’s definitely do-able with some of the cheaper options.
I really like upgrading to a full pull-up bar and dip machine package, though, because it then allows you to also upgrade your dips, leg raises, and usually even your push ups!
But technically none of that is necessary, so I’m opting to say you should likely use the excess money on one of my optional alternatives (either below, or from our first build).
That being said, if you choose that the extra cash for this build would make the most sense going to an upgraded pull up bar STATION, then I will definitely not disagree with that.
The Speed Rope or The Jump Rope
The Speed Rope or Jump Rope that I recommended in our previous build is definitely a keeper in this situation. There’s no reason to spend money on any other piece of cardio equipment when you can easily use your rope, go outside and run/walk, jump on your bike, or turn any workout into a fat burning circuit or high intensity workout just with the floor and your body!
Have you ever tried 10 minutes of interval burpees? Try that and tell me you can’t get a killer endurance workout with just a floor!

The Optional Alternatives
For this last section I’ll be giving you a couple alternative options to take advantage of assuming you didn’t already use up all the money for this build. Assuming you only used a portion of the extra $150 we’re allocating to this one on an addition kettlebell or dumbbell on top of our last build; you should have some extra money to play with.
The options from our original build are also really really good assuming you want to double check the first post as well.
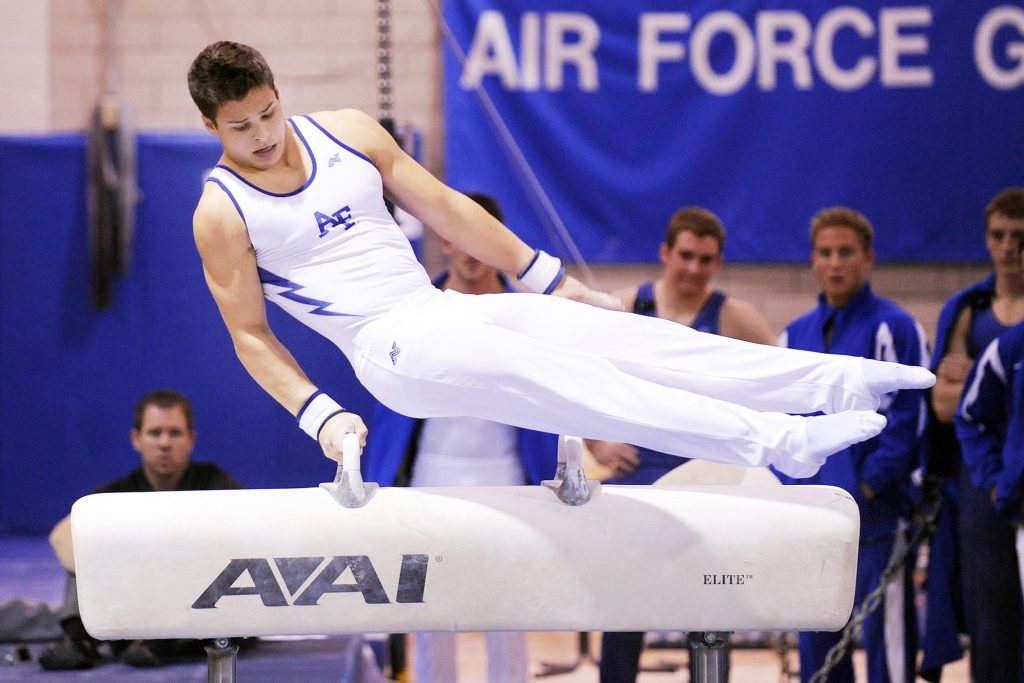
Optional Alternative One: Paralettes
Don’t worry, I’m not talking about what is shown in the picture.
That’s just one of the cool things you might be able to level up to with your new paralettes!
This is an alternative option that will run you anywhere from $50-100.
I actually made mention to them within our Ultimate Calisthenics Workout & Guide, and I’m a big fan of them for my own training.
I have personally owned a couple variations of them:
- Option One | Metal – I downsized (although not by a dramatic size at all) to these for Florida and I really like them, although I do think I prefer the wood ones below.
- Option Two | Wood – These are a big larger but I just feel cooler when I’m using the wood finish, yah know?
This suggestion does come with one extra thing that must be added, though…
This alternative recommendation is specifically on the basis of training from home and being under the assumption that you will be doing more calisthenics and therefore looking to progress to more advanced movements.
That being said, if you have no interest in progression to more advanced movements or doing holds on these paralettes, then they’re probably not the greatest use of your dollars.

Optional Alternative Two: Weighted Dip/Pull Up Belt
In the last build one of the alternative options was a weighted vest; and that has actually been mentioned multiple times here at SHJ (so don’t think I am suddenly not recommending it).
That being said, if you chose to use the extra money to upgrade your pull up bar to a full pull-up bar and dip STATION, then this alternative might work well for you (and save you some money).
If you are choosing to go with a door-frame pull-up bar, then you likely shouldn’t be adding weight to your pull ups with the weighted vest OR this option, but I personally have a full station and the weighted belt is quick and easy to scale up my movements.
Oh, and the coolest part about this one?
It should only cost you around $15-30 bucks and then you can add weight accordingly (unlike the weighted vest that you pay for the weight up front).
But, one last time, if you want to head over to our initial build which was our Build Your Superhero Home Gym For Under $100 I have five other great alternative options there as well.
There you have it.
You have now built your Superhero Home Gym with less than $250 spent.
Keep an eye out for our our stages of Superhero Home Gyms.
Until next time,
Mike Romaine
SHJ’s Nick Fury
SUPERHUMAN SECRETS V.2
NOW UPDATED AND EXPANDED WITH A NEW SECTION & SEVEN BONUSES
USD$29 USD$14.95

